Getting started
How to install CS2 cheats: a clear start-to-finish guide
A practical installation workflow covering preparation, download checks, first launch, menu keys and what to do when something does not open correctly.
7 min read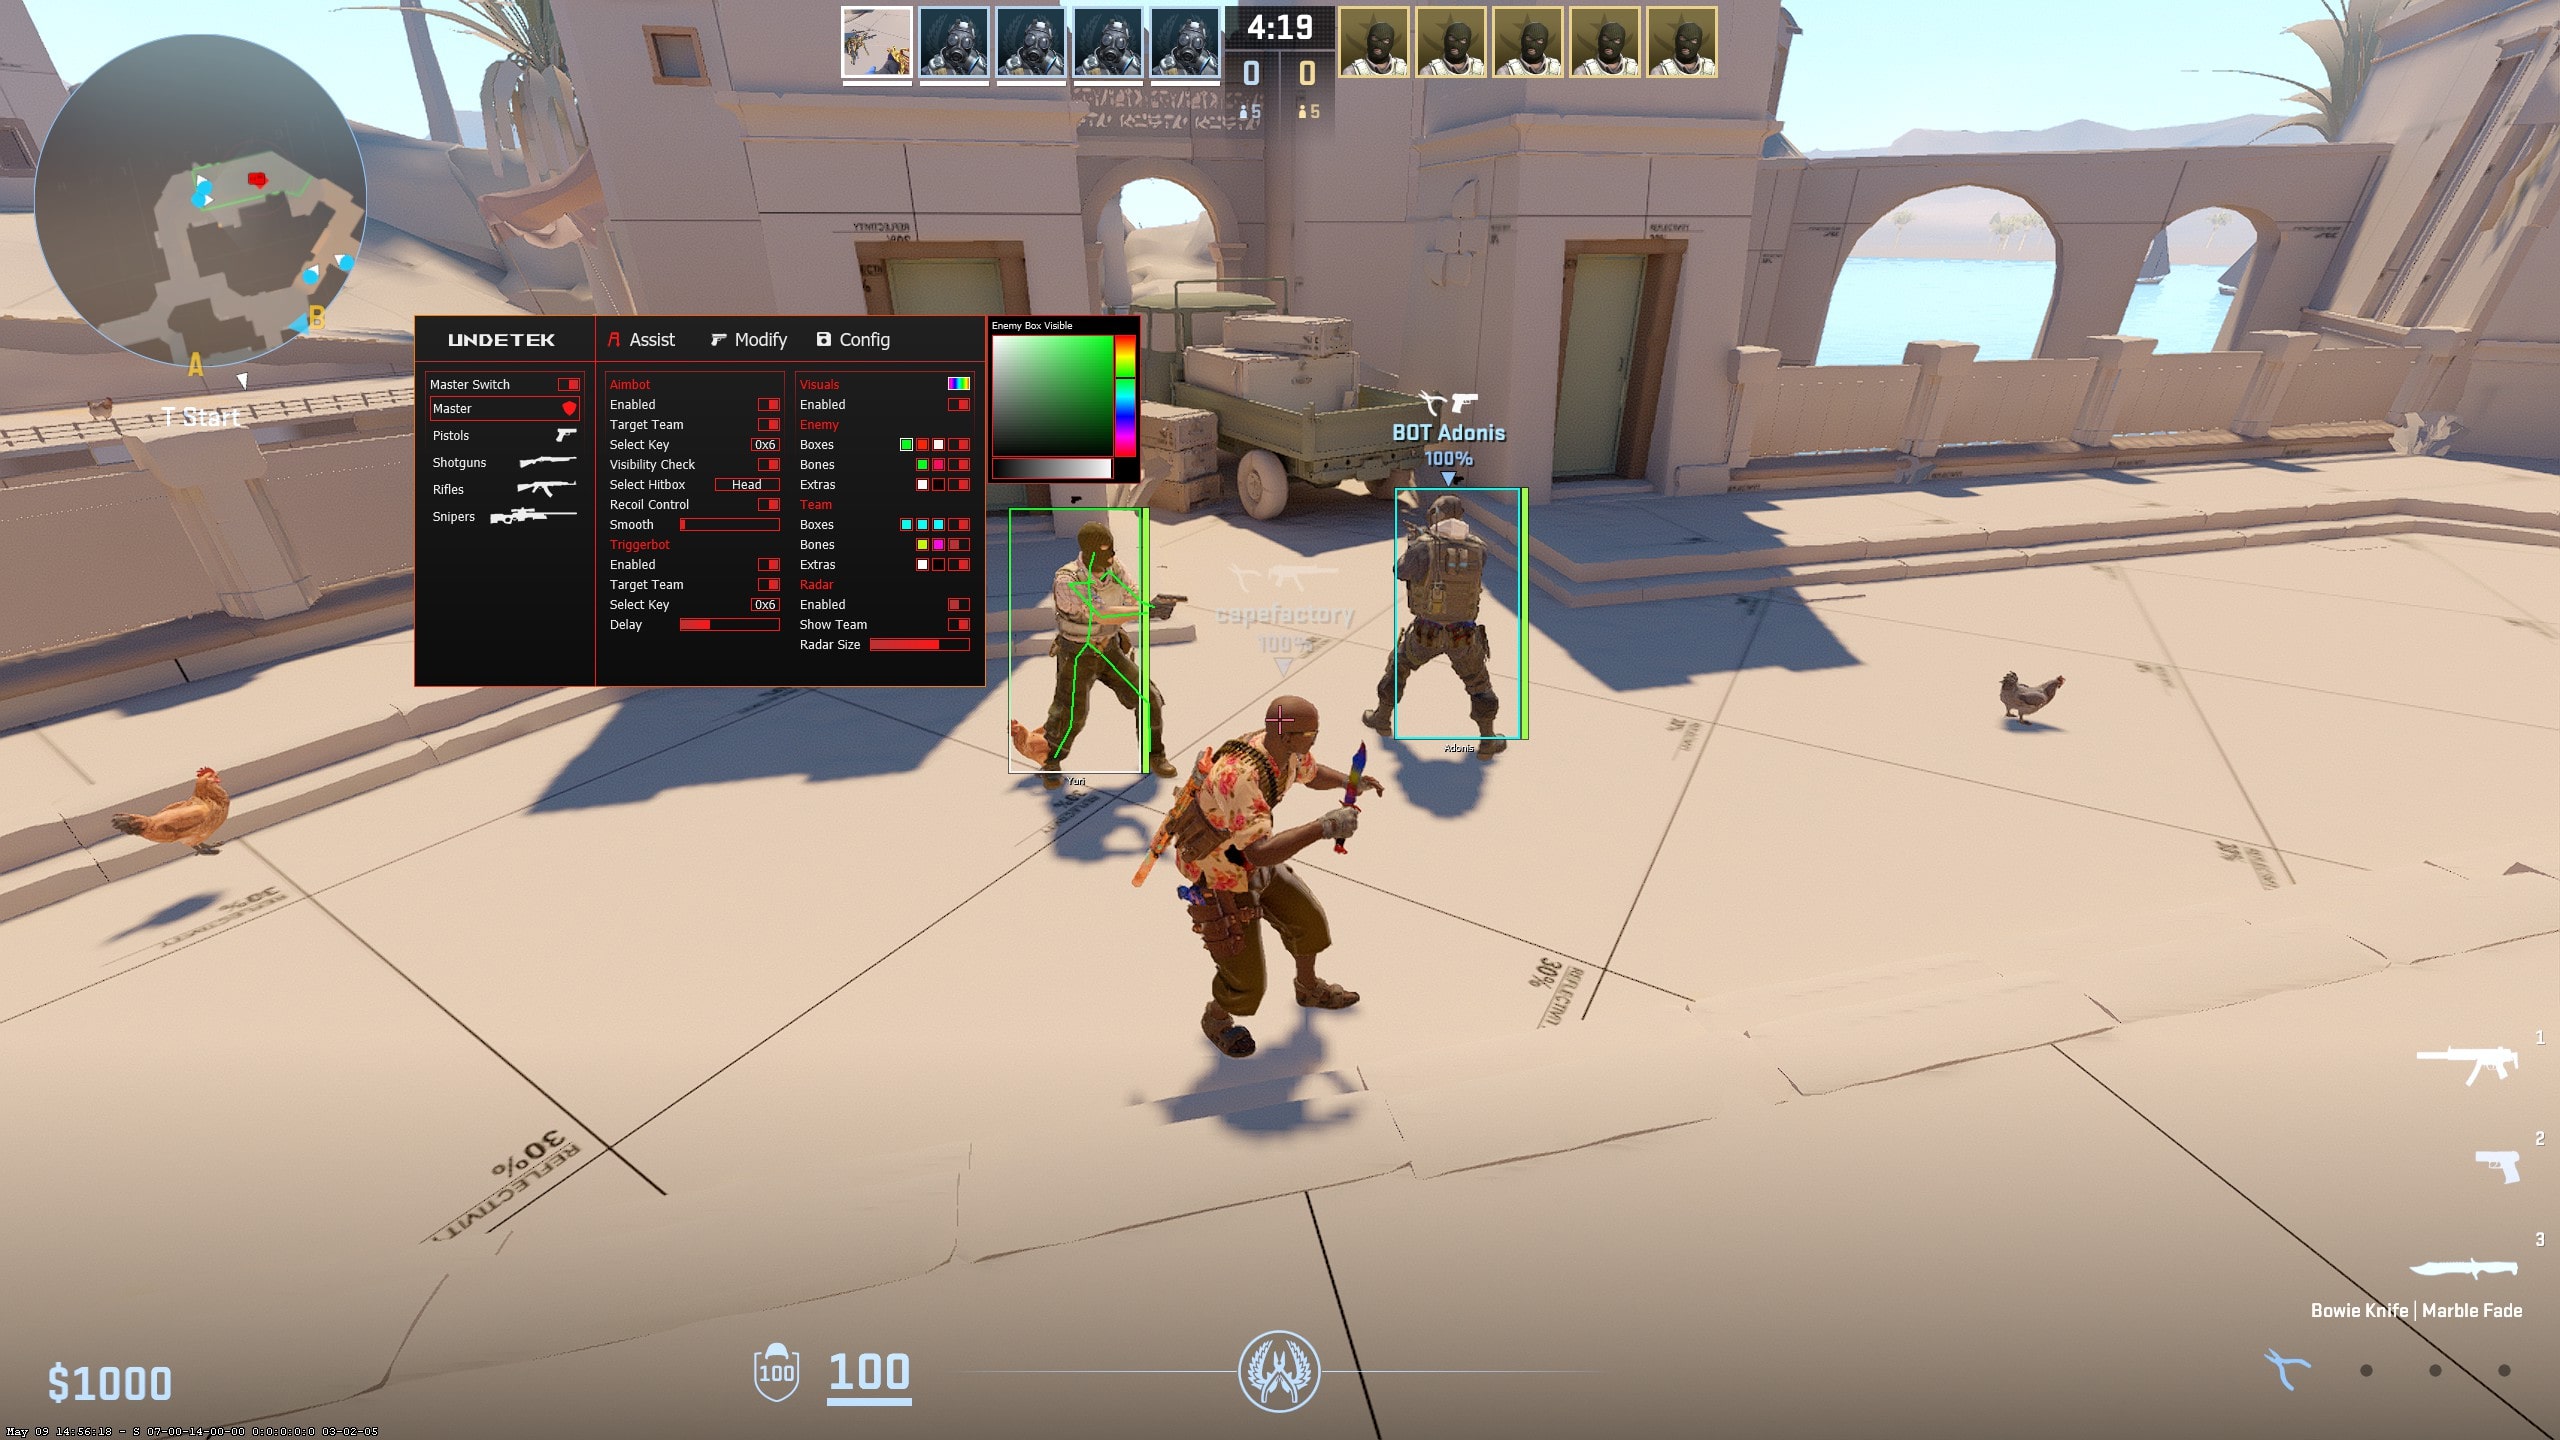
Key takeaways
Before downloading anything
Start on the current product or free-download page and check its live status, supported Windows version and latest setup notes. Counter-Strike 2 changes frequently, so an older file or an instruction written for a previous build may no longer work even when the general installation process looks the same.
Close unrelated overlays and utilities before the first launch so any problem is easier to isolate. Make sure Steam and Counter-Strike 2 open normally on their own. If the game is already failing, repair that issue before introducing another application into the setup.
Download from the official destination
Use the download or purchase button on CS2Hacks.net to reach the official Undetek destination. Avoid mirrors, reuploads and files passed around in messages. A copied file can be outdated, modified or missing the access information provided with the official release.
Keep the archive and its instructions together until setup is complete. If access was purchased, use the delivery instructions associated with that order rather than a guide for a different product. Undetek+, iCheat Pro, 420Cheats Pro and the dedicated Skin Changer do not necessarily use identical menu keys or launch flows.
Prepare CS2 and complete the first launch
Launch Steam and Counter-Strike 2 using the normal account and display settings you plan to use. Confirm the Steam overlay opens, then return to the main menu. Follow the supplied product instructions to open the external client and wait for its ready state before joining a match.
On first launch, change only one or two settings. Confirm that the menu opens, saves and closes correctly before building a complete configuration. This makes it much easier to identify whether a problem belongs to the client, a keybind or an individual feature.
- Open Steam and CS2 normally
- Confirm the Steam overlay and display mode work
- Launch the latest client using its supplied instructions
- Open the menu and test one setting at a time
Know the menu key for your product
The free build commonly uses Insert to toggle its menu. Some compact keyboards require Fn plus Insert, and keyboards without a labelled Insert key may map that function elsewhere. Premium products can use a different key, so check the current product instructions before assuming the client failed to load.
If a menu is present but not visible, test windowed or borderless display mode and temporarily close other overlays. Do not repeatedly launch multiple copies of the client; close the existing process first and then make one controlled retry.
What to do when setup fails
Check the live status first. After a CS2 update, the correct answer may simply be to wait for a compatible release. If status is normal, note exactly where the process stops: download, extraction, client launch, authentication, menu display or feature activation.
Take a screenshot of any visible error and share the product name, Windows version and failure stage with support. Specific information produces a faster answer than reinstalling repeatedly or changing many Windows settings at once.