Configuration
CS2 aimbot settings explained: FOV, smoothing, recoil and targets
Learn what every important aim setting changes and use a repeatable process to build a controlled configuration for your product.
9 min read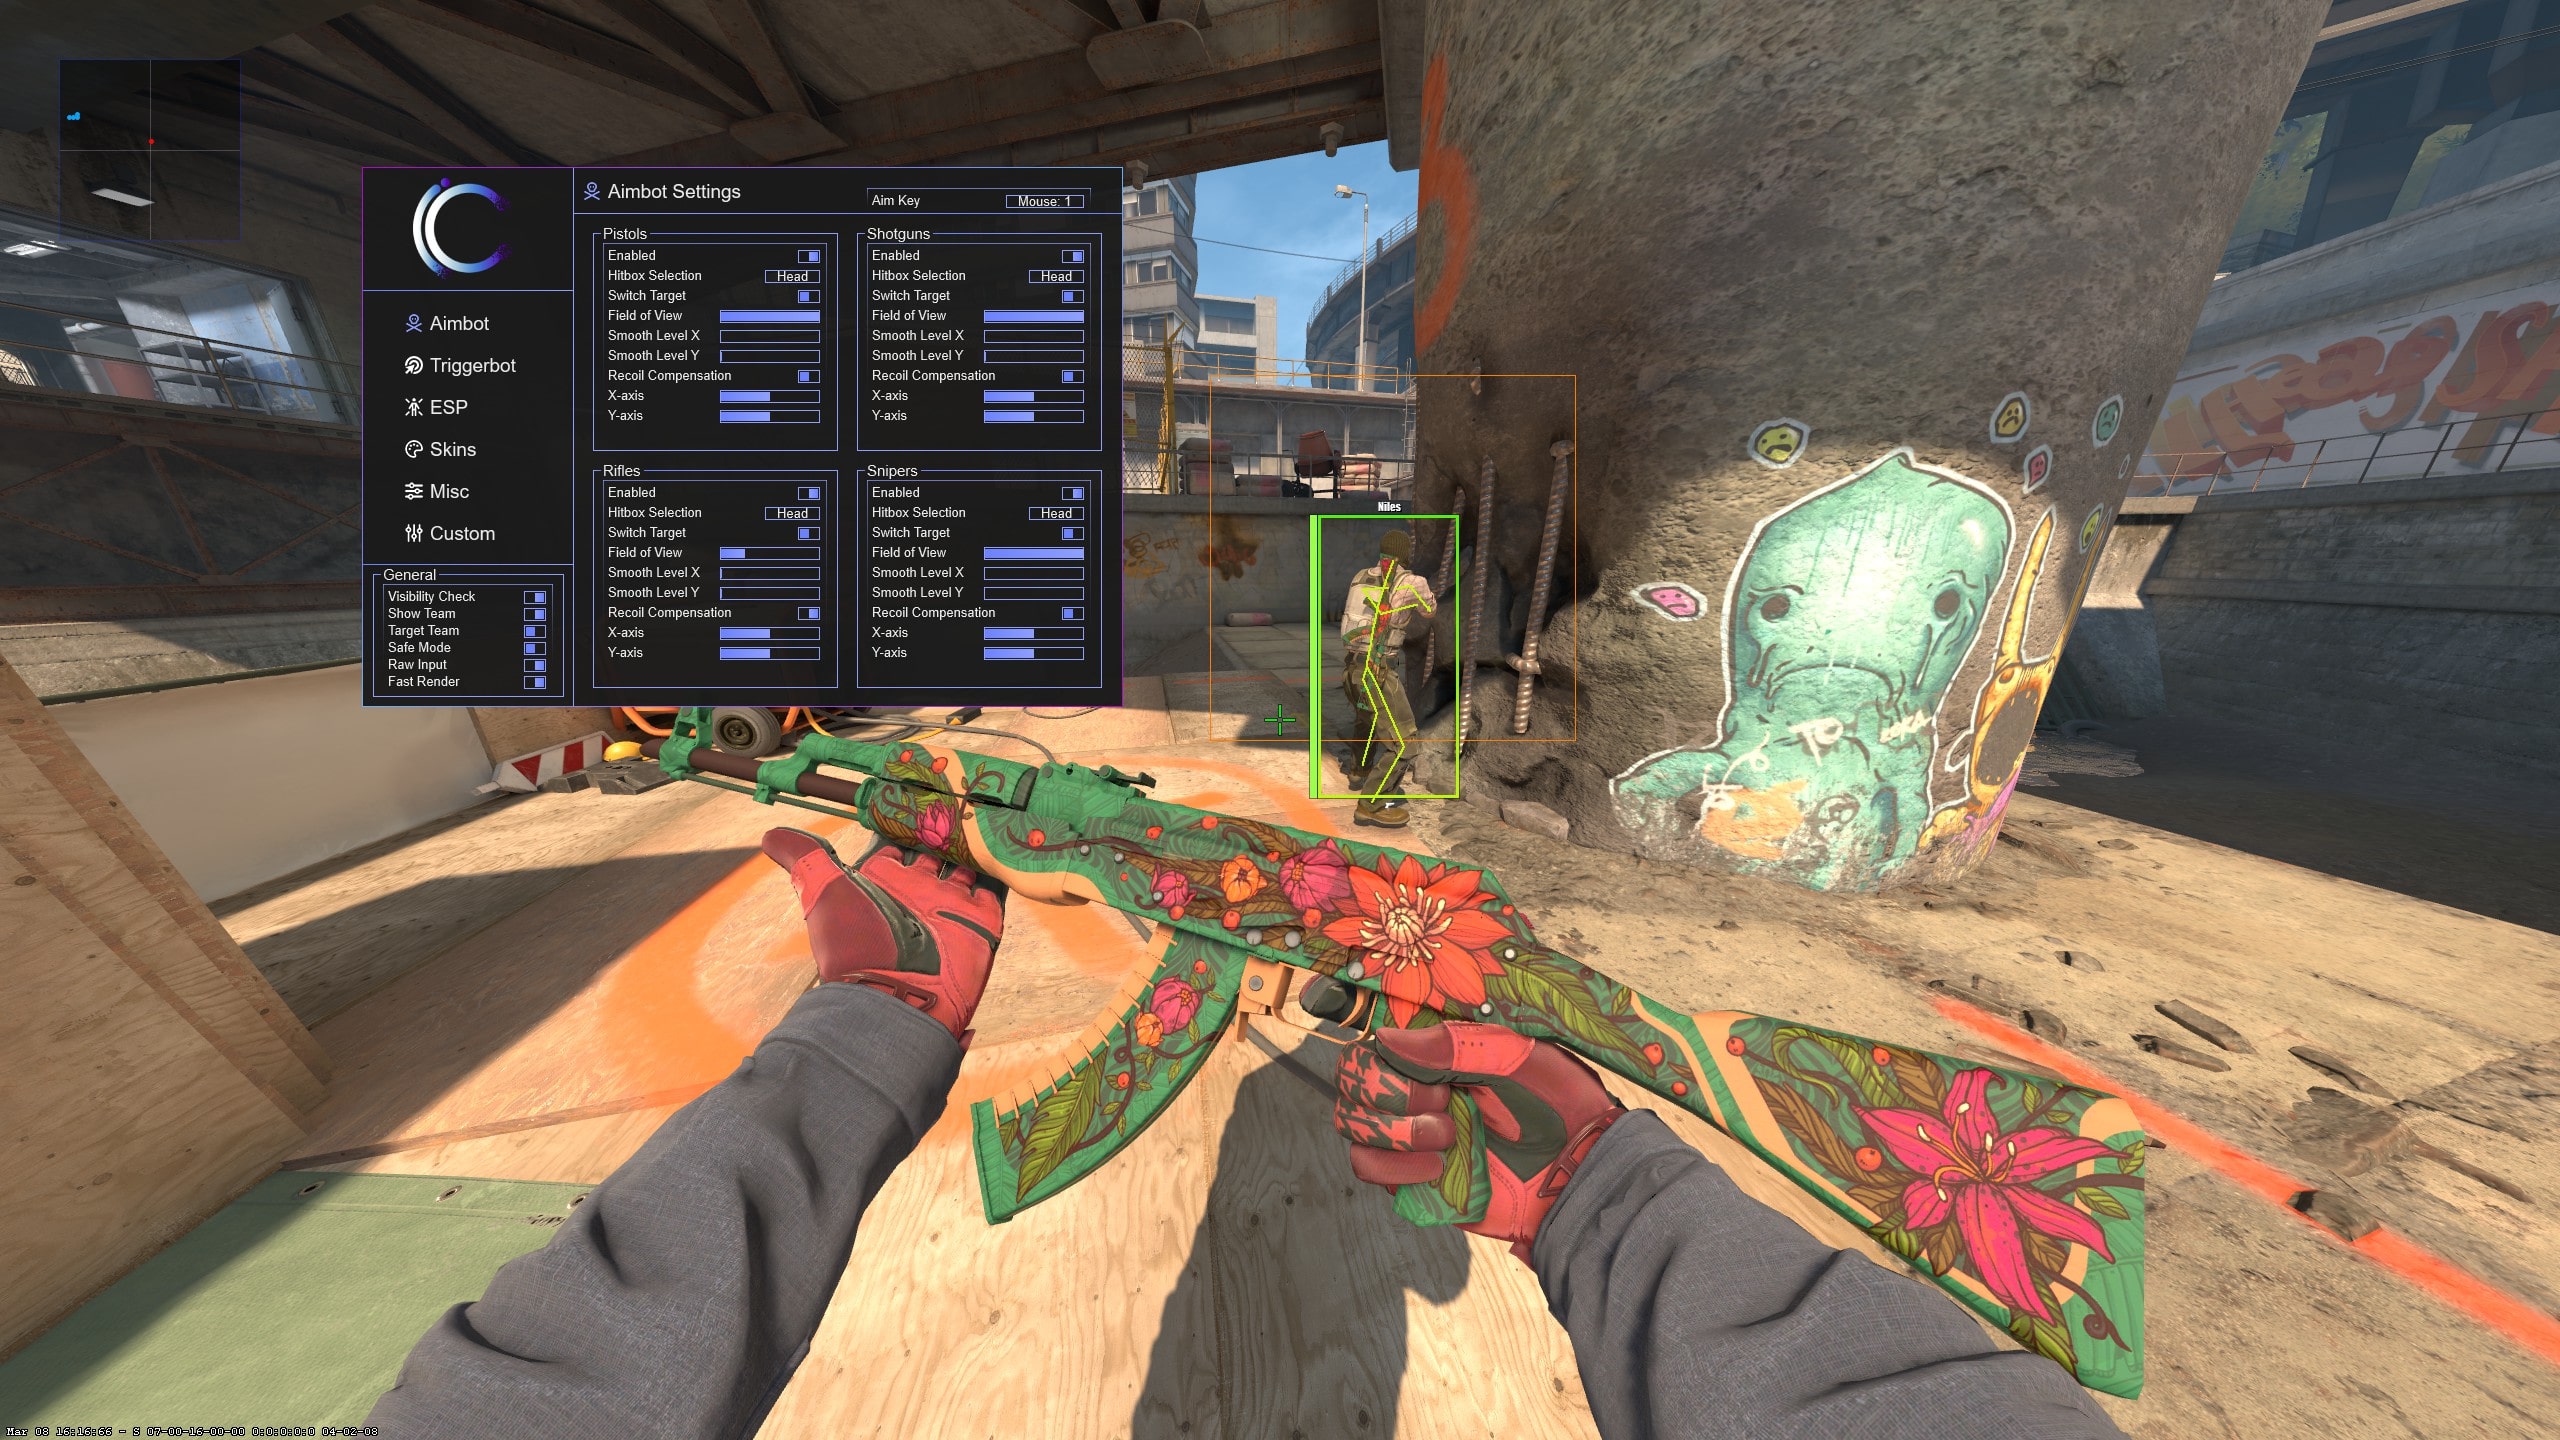
Key takeaways
Start with the relationship between FOV and smoothing
Field of view defines how far from the crosshair a target can be before aim assistance considers it. A smaller FOV keeps the activation area tight; a larger value can acquire targets farther from the current aim position. It is not the same setting as the game camera field of view.
Smoothing controls how quickly correction is applied. Lower smoothing usually feels faster and more direct, while higher smoothing spreads movement over more time. The two settings interact: a large target area with fast correction behaves very differently from a small area with gradual correction.
Choose an activation method you can control
A hold key applies assistance only while the selected key is pressed. A toggle keeps the feature active until it is switched off. Hold activation is easier to test because you can immediately compare assisted and unassisted movement without opening the menu.
Choose a key that does not conflict with movement, voice, grenades or weapon selection. Test it in a low-pressure environment before changing aim values. An awkward keybind can make a good configuration feel inconsistent.
Visibility, hitboxes and target selection
A visibility check limits activation to targets the client reports as visible. Hitbox selection determines which part of a model the setting prefers, while target priority can choose between distance, crosshair proximity or other supported rules.
More options do not automatically create a better result. Begin with one hitbox and a simple priority rule. Add separate logic only after the basic behaviour is predictable across several weapons.
Recoil control and weapon profiles
Recoil control attempts to compensate for weapon movement during sustained fire. It should be tested separately from target correction because combining both immediately makes it difficult to tell which setting is responsible for overcorrection.
Weapon profiles are useful because rifles, pistols and sniper rifles do not benefit from identical timing. Configure one representative weapon in each group, save the profile and make small changes after actual use instead of changing every category at once.
A repeatable tuning process
Reset to a simple baseline, choose an activation key and set a modest target area. Adjust smoothing until movement is controllable, then test visibility, recoil and per-weapon behaviour in that order. Write down the values that worked before experimenting further.
Undetek+ exposes the essential controls with a shorter setup path. iCheat Pro and 420Cheats Pro provide deeper aim and weapon configuration. The best starting point therefore depends as much on the menu you are using as the style you want to create.
- Set the activation key
- Choose a modest FOV
- Tune smoothing
- Test visibility rules
- Add recoil control
- Save per-weapon profiles